Monday, December 12, 2022

Stamp Day Card #1

 Hello & Happy Monday!

Hope you all had a nice weekend!
It was very busy here so I am going to give my aching back and hands a rest for a few days before I start my housework this week. I feel like I have been going 100 mph the last few weeks and need to take a breather.

Today I am sharing a festive card from my Stamp Day w/ Friends get together from Saturday!


This one was pretty simple to do but adds a nice pop of sparkle with the retired glittered Shaded Spruce Glimmer Paper and the pretty iridescent Wonderful Snowflakes!
I had already run the Basic White panel thru the Stampin Cut & Emboss Machine using the Whimsical Woodland 3D EF so that was one step the girls did not have to do. I also diecut the glimmer paper and the circle ahead of time. It's hard to tell but the Shaded Spruce Glimmer Paper was diecut with the Labels Aglow Dies. They just had to stamp the sayings and adhere it all together.

Card Details:

Stamps: Brightest Glow
Ink: Shaded Spruce
Cardstock: Shaded Spruce, Basic White, Shaded Spruce Glimmer Paper (retired), Santa Express DSP
Accessories: Whimsical Woodland 3D EF, Stylish Shapes Dies, Circle Layering Framelits, Labels Aglow Dies, Stitched Rectangle Framelits,  Iridescent Rhinestones, Wonderful Snowflakes, White Glittered Ribbon, Glue Dots, Tombow Multipurpose Liquid Glue

Miss Emily loved this card but it was not her favorite.
Tomorrow I will share card #2.

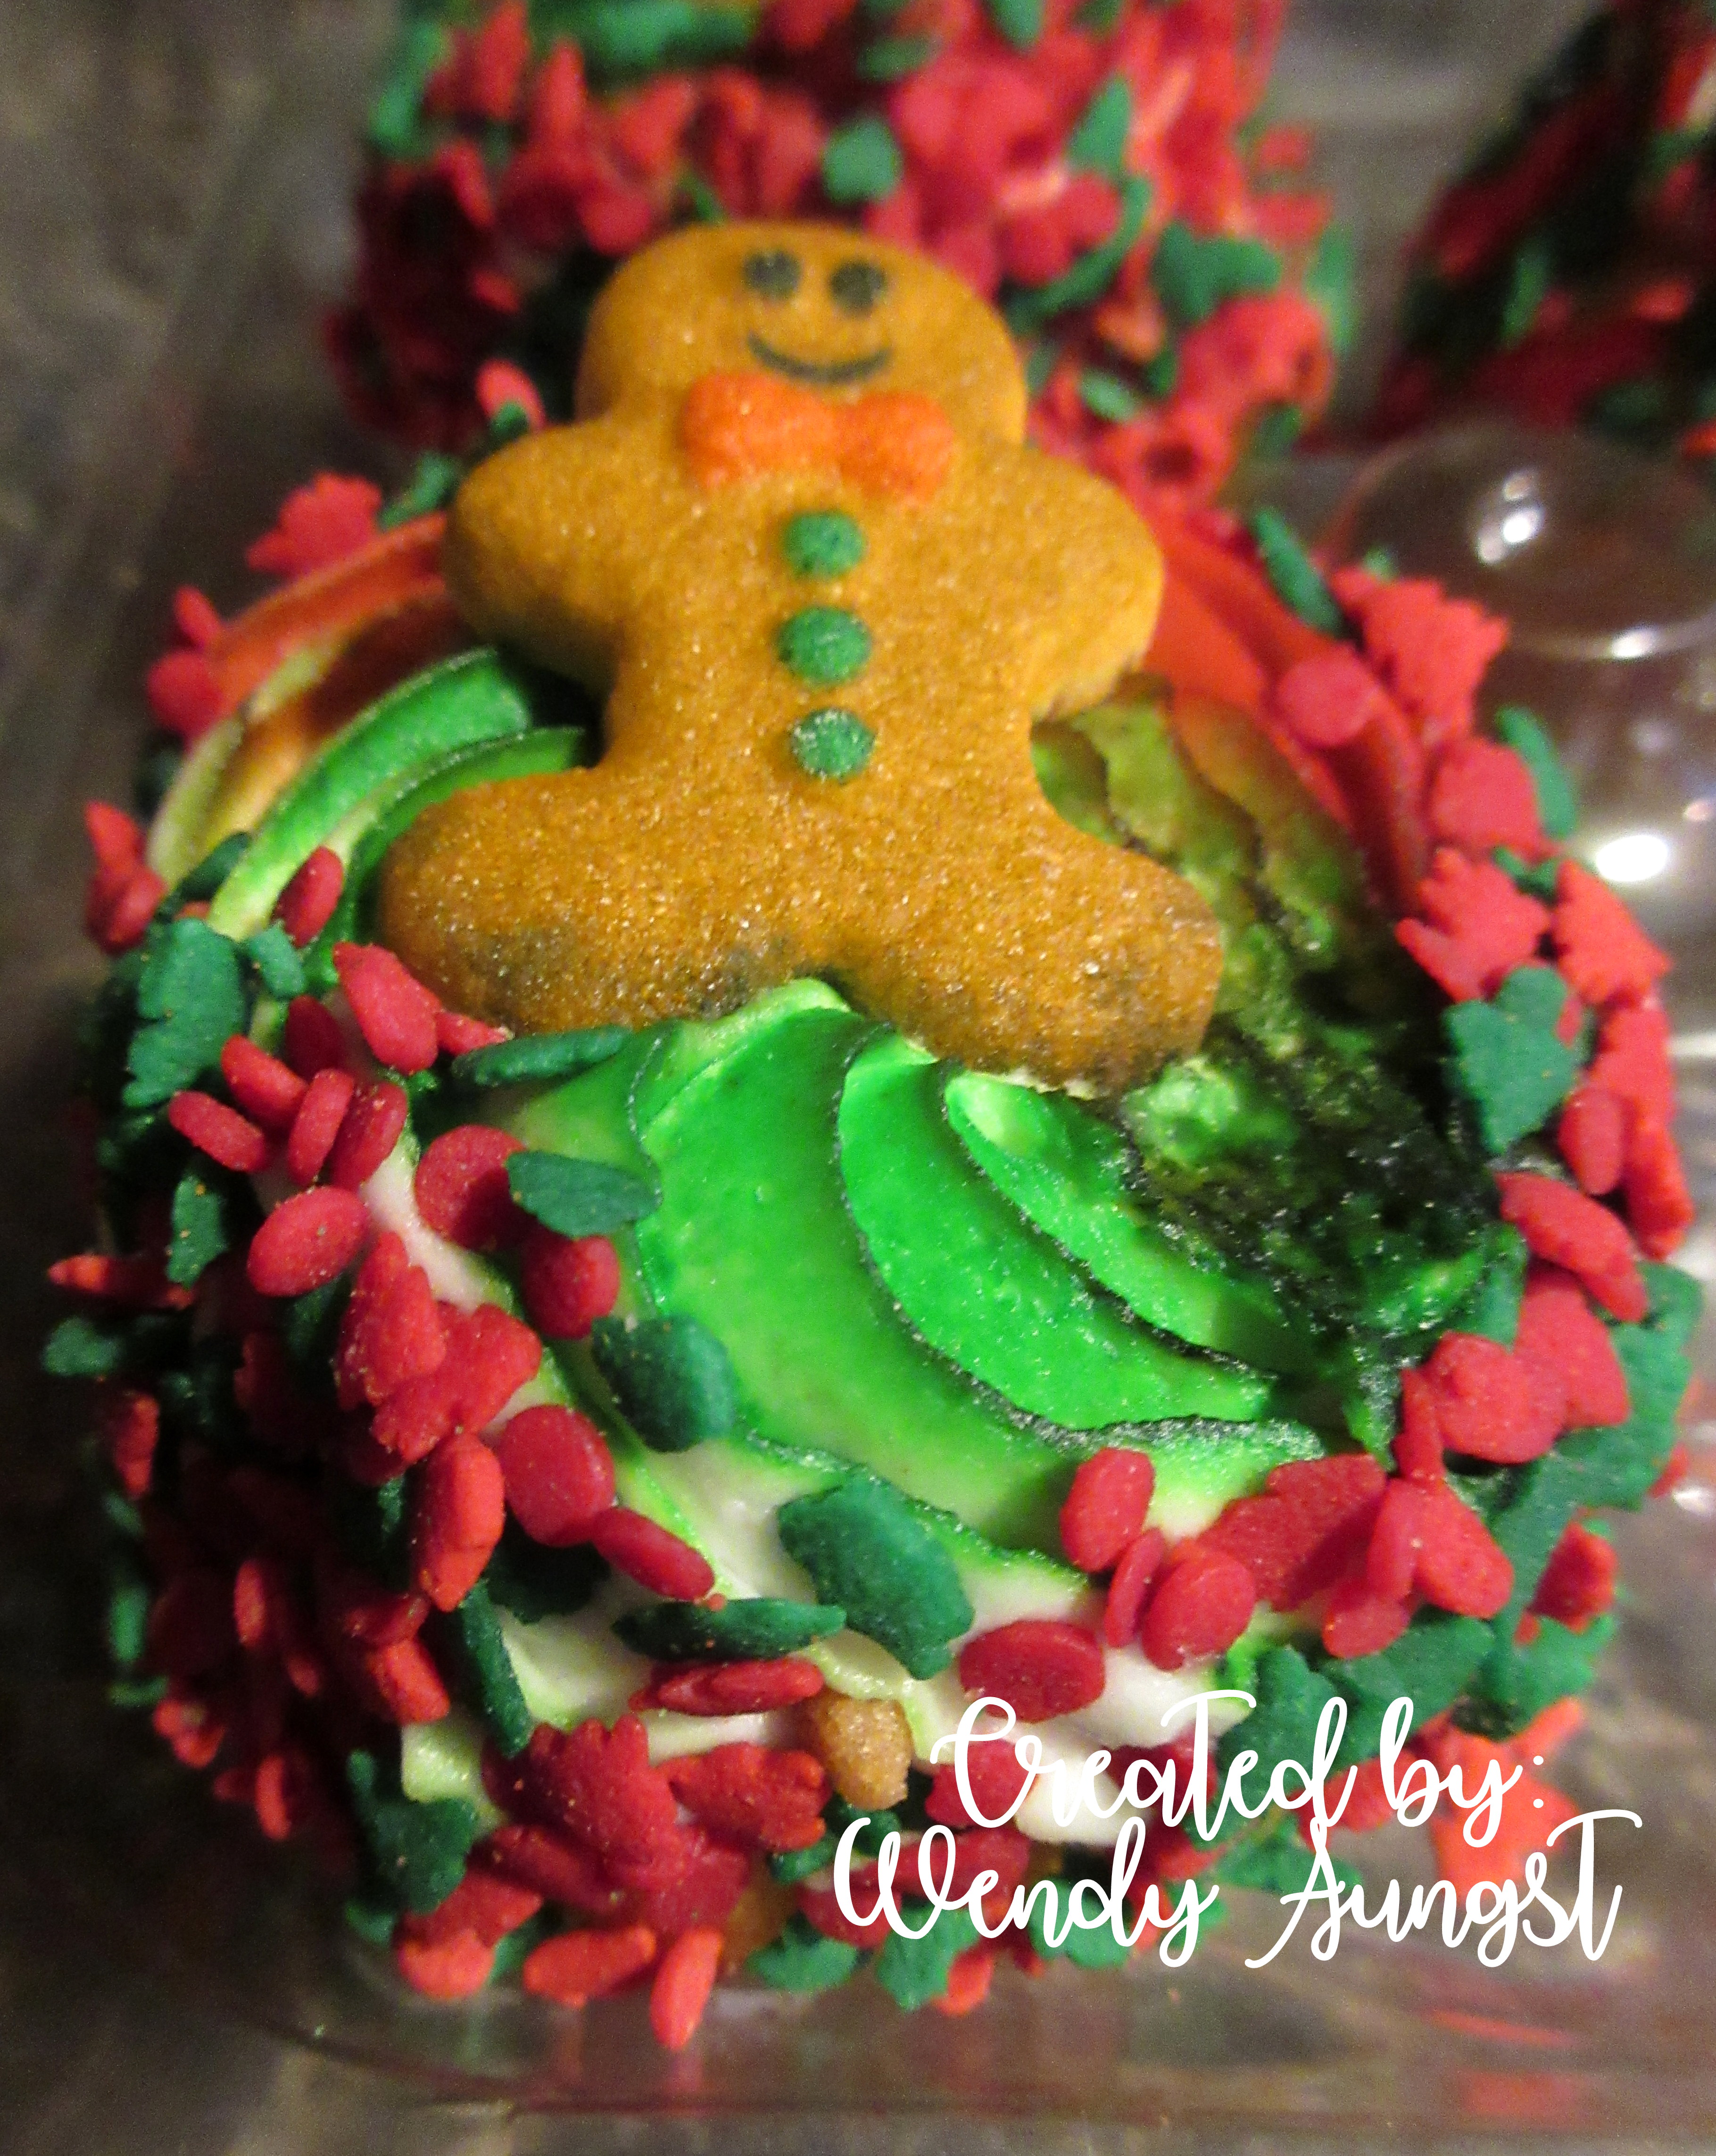
Here are the Gingerbread Cupcakes that Shawn picked up at a local bakery for my stamp get together. Gingerbreads are my thing!!! 


They were SO good!

************************************
My thoughts today...


Thanks for stopping by!
I'll see you tomorrow!
~Wendy


Sunday, December 11, 2022

Reese's PB Trees

 Good Rainy Morning from Red Lion, PA!
Happy Sunday to you!

We woke up to a rainy almost sleet like kind of morning.
It's pretty cold which makes me think the rain is mixing with sleet.
Tis the season, right?

Yesterday Miss Bailee got her bath & a haircut. She looked so cute and the groomer put a cute little peppermint scarf on her. Even Mr Shady thought she looked & smelled quite nice! LOL
I had my Stamp Day w Friends get together in the afternoon.
 We had such a good time! I will start sharing the pictures of the cards we made tomorrow so please be sure to come back and find out what Miss Emily's favorite was!
While we had Stamp Day my dear sweet hubby made a batch of Soft Snickerdoodle cookies and served them to us while making Christmas cards. They were still warm and were so good!
He even packaged a few up and sent them home with Deb & Emily!
After they left I packaged up the leftover treats and Audrey's card order and delivered them to her. Shawn also added a package of Snickerdoodles for her as well. She gave him a big ole hug for making her day! She loved all her cards she requested and was so happy with this year's Christmas treats! YAY! 
All in all it was a very good day and I did manage to stay awake until my Hallmark movie was over last night!

So today I want to share my Reese's PB Trees treat!
These are made with the small Reese's PB Trees and I placed 2 in each acetate box.
The boxes are the 3 1/8 x 3 1/8 inch size boxes that are now retired.
As of last night I had 12 of them made and Miss Emily bought 10! Only 2 made their way to Audrey and I told her if she wanted more to let me know i'd be happy to make more for her!


I remember the day I made these...it was a Sunday afternoon while watching football. 
They were so fun!

Project Details:

Stamps: Framed & Festive, Trees For Sale
Ink: Shaded Spruce, Real Red, Balmy Blue
Cardstock: Shaded Spruce, Basic White, Santa Express DSP
Accessories: Stylish Shapes Dies, Circle Layering Framelits, Tailor Made Tags Dies, Real Red Ribbon, Rhinestones, Dimensionals, Tombow Multipurpose Liquid Glue


The acetate boxes were just a tad bigger than my Reese's PB Trees so on the bottom I added a little red & green paper shred that I had leftover from doing craft shows. It worked out nicely and gave my treats a little cushion so they did not flop around inside the box. Very fun & festive!

********************************************
My thoughts today...


I think it may be a football & hot chocolate kind of afternoon for me! LOL

Thanks for stopping by & have a wonderful day!
~Wendy


Saturday, December 10, 2022

Illuminated Christmas Cards

 Good Morning & Happy Saturday!

I have a very busy day ahead so i'm gonna get right to it!

Today I am sharing a set of Christmas cards made for my card lady!
She requested a pack made using the 3 Kings and I know how much she adores the 3 Kings because she has ceramic figures of them sitting out in her house all year long. Since we have nothing current that has the 3 Kings in it I pulled out my retired Illuminated Christmas stamp set from a few years ago and got to work.


I did not get fancy with coloring them so I just stamped them with Cherry Cobbler ink and diecut them out with the Stylish Shapes Dies. I know I use those dies all the tie but I love the stitching on them!

I chose to use some Lights Aglow DSP that has sold out just recently. It is a beautiful pack of 6x6 paper that has Gold Foil throughout it and you know I am a sucker for anything with Gold Foil in it! I felt this particular sheet of DSP worked well with my 3 Kings and I added more pops of gold to my card to go with it!

Card Details:

Stamps: Illuminated Christmas (retired), Christmas to Remember
Ink: Cherry Cobbler
Cardstock: Cherry Cobbler, Basic White, Gold Foil Paper, Lights Aglow DSP
Accessories: Stylish Shapes Dies, Circle Layering Framelits, Seasonal Labels Dies, Festive Pearls, Gold Shimmer Ribbon, Glue Dots, Tombow Multipurpose Liquid Glue


It's been awhile since I used Cherry Cobbler for anything and just love the richness the color brings to these Christmas cards along side that DSP!
Love how they turned out and I think Audrey will love them too!

So this morning Miss Bailee has a dog grooming appointment then later in the afternoon my girlfriends are coming over to make Christmas cards! I can't wait to see them!
I got the Christmas lights already lit and the Christmas music waiting to play! It's definitely cold enough to throw a log in the fireplace which I will do to add to the Christmas feel.
Shawn even picked up some Gingerbread decorated cupcakes yesterday at a local bakery close to his work! If I remember I will snap a picture of them and share tomorrow. 
Kelsey set up my hot chocolate bar for us and it looks so nice!
Then after we are done stamping I will be headed to Audrey's to drop off her card order and Christmas treats! Not sure I am gonna have enough steam to stay awake for tonight's Hallmark movie at 8pm but I will certainly give it a go! LOL

***********************************************
My thoughts today...


Thanks for stopping by & enjoy your day!
~Wendy


Friday, December 9, 2022

Birthday Bonanza For Henry

 Hello & Happy Fri-YAY!

I'm glad the weekend is upon us!
Stamp Day w/ Friends is tomorrow afternoon after Miss Bailee gets back from grooming then a trip to my card lady's to drop off her card order and Christmas treats! 

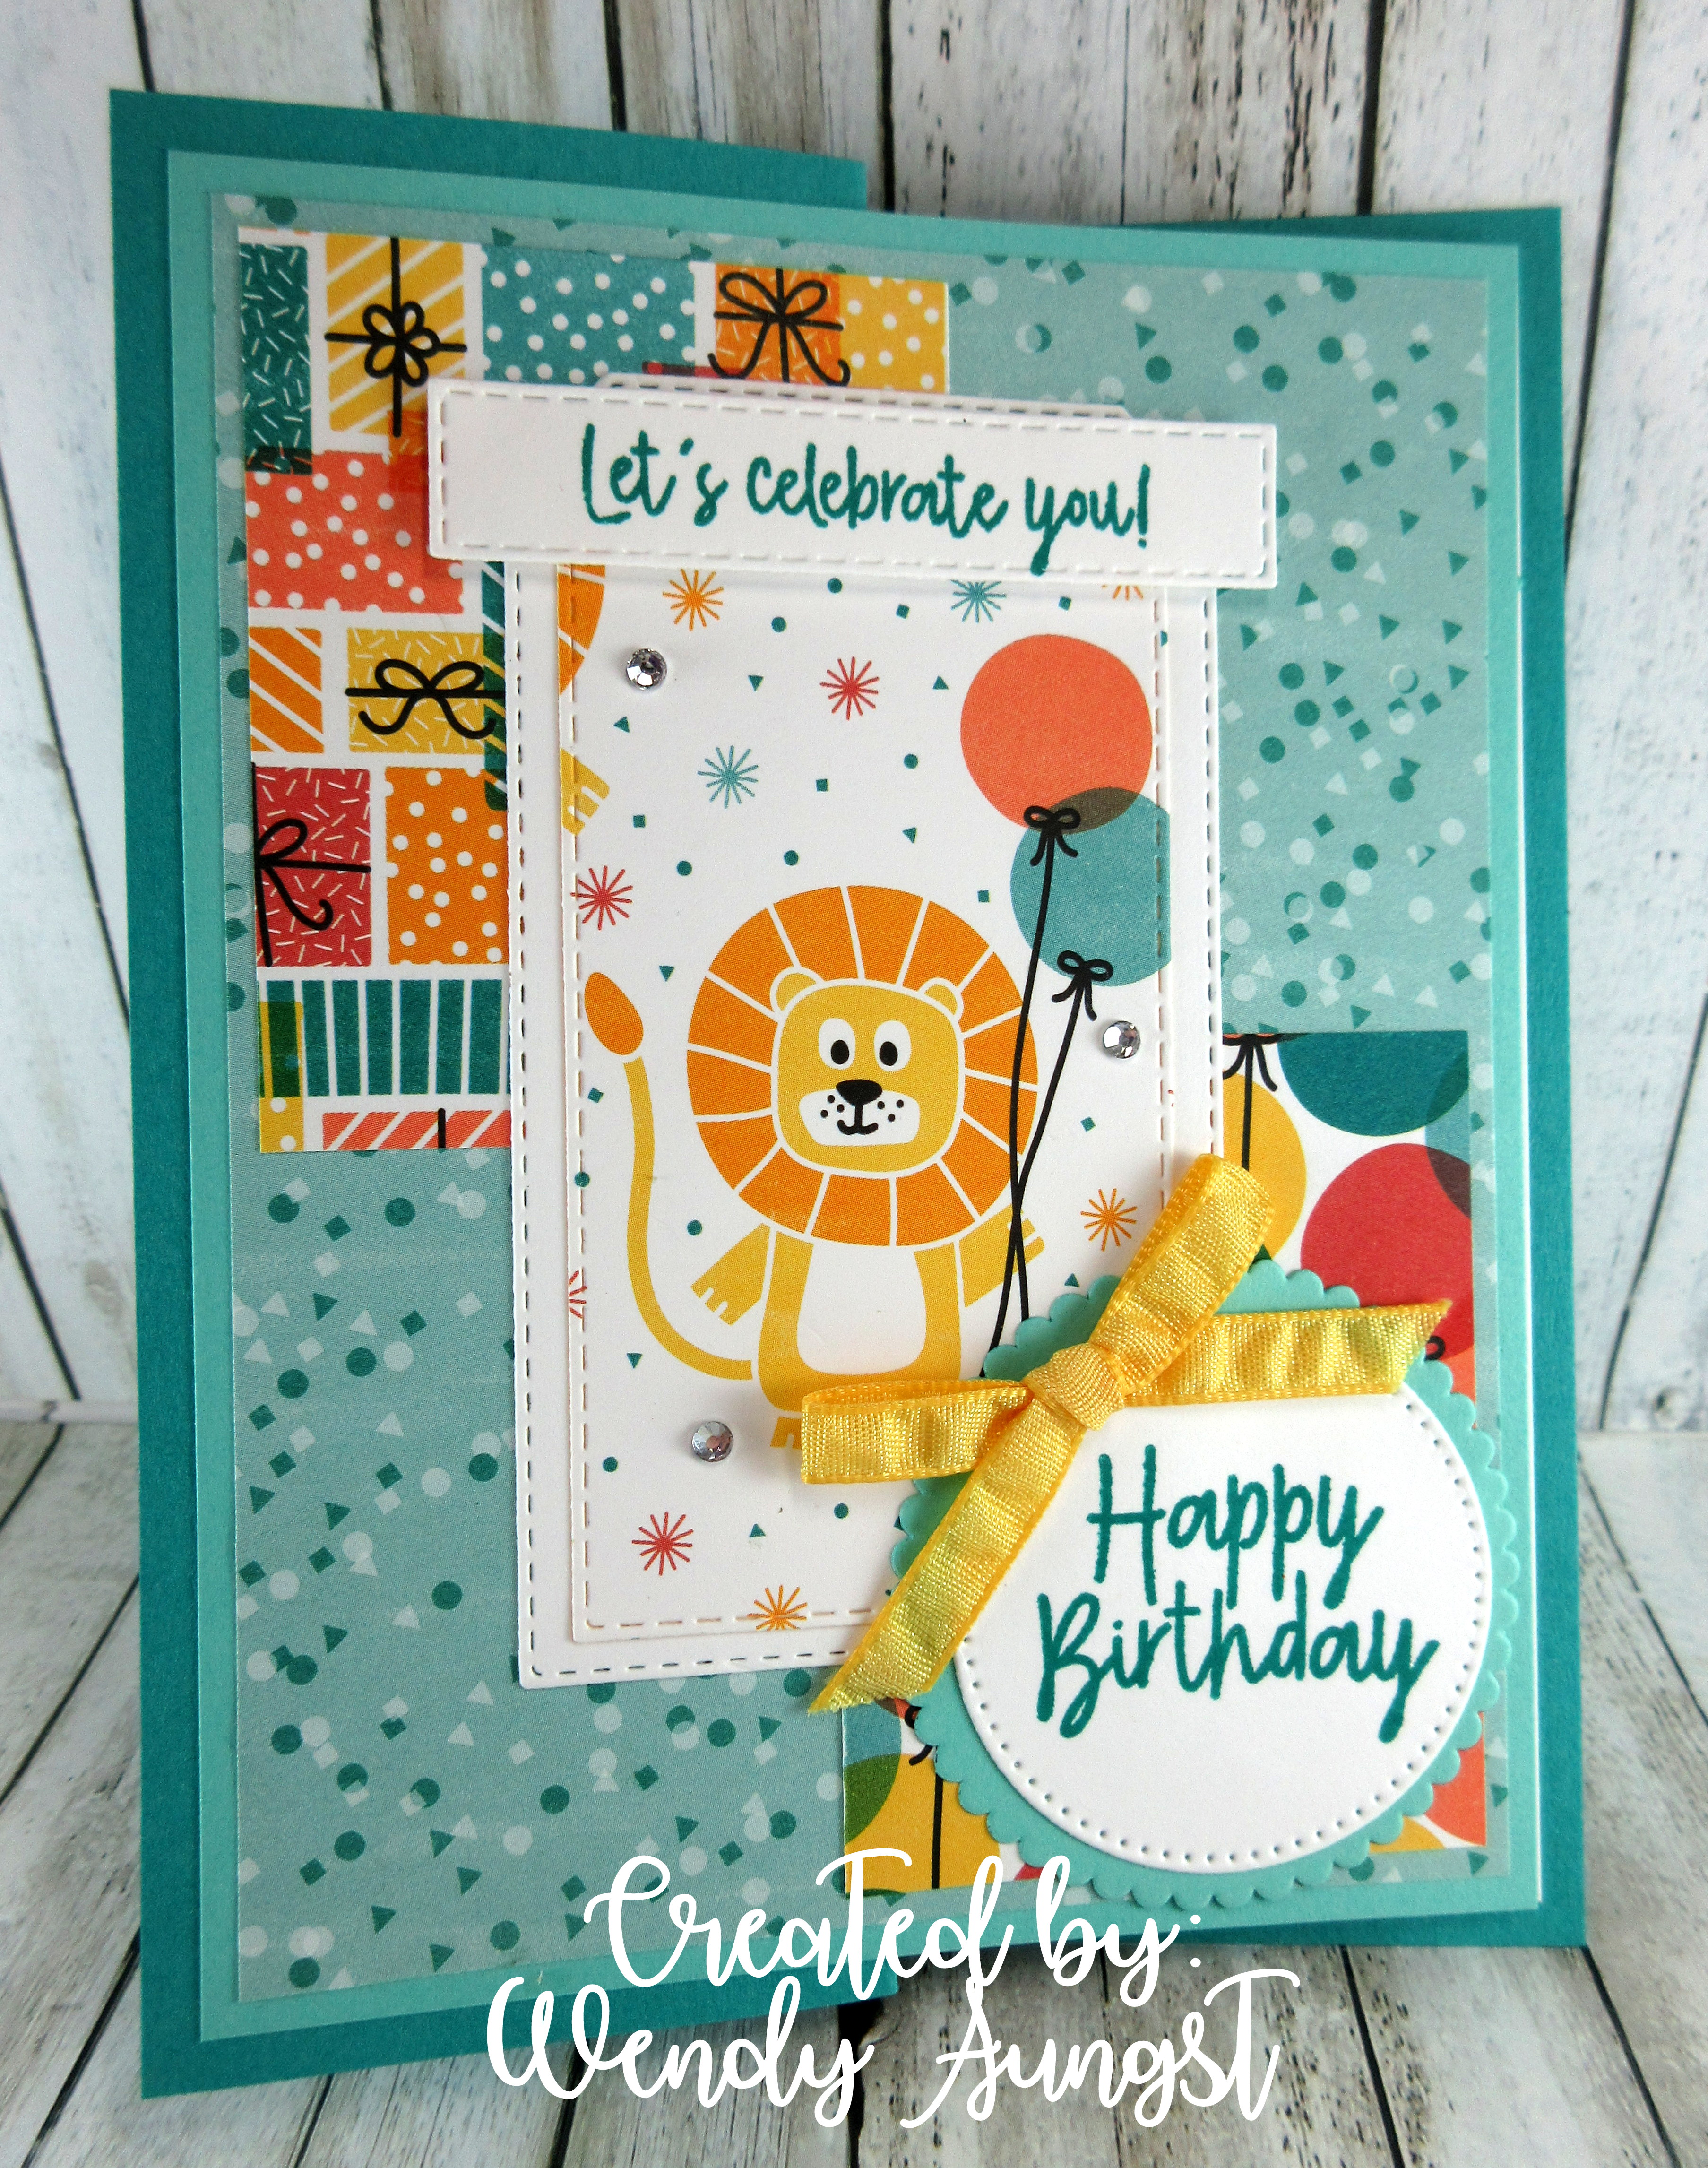
Today I wanted to share a card I made last month for Audrey's card order.
She requested this for a little boy who just turned 1!
I don't have much in stamps for the little ones but thankfully I got the Birthday Bonanza bundle a few years ago which was perfect for this!


Card Details:

Stamps: Birthday Bonanza (retired)
Ink: Bermuda Bay
Cardstock: Bermuda Bay, Coastal Cabana, Basic White, Birthday Bonanza DSP (retired)
Accessories: Stitched Rectangle Framelits, Stylish Shapes Dies, Circle Layering Framelits, Bonanza Dies (retired), Daffodil Delight Ruched Ribbon (retired), Rhinestones, Glue Dots, Dimensionals, Tombow Multipurpose Liquid Glue


She loved the card and so did Little Henry!

**************************************
My thoughts today...


Thanks for stopping by and have a great day!
~Wendy


Thursday, December 8, 2022

Spruced Up M&M Sticks

 Good Morning & Happy Thursday!

I hope your week is going well!

Today I am sharing with you my Christmas M&M Sticks that I make every year.
I wanted to add something more to my sticks other than just my sentiment tag.
As I started playing around with the Spruced Up bundle I realized the trees in the Spruced Up Outlines Dies that they cut in 2 different pieces so I thought i'd use the outline die and the inside die. This is what I made...


If your not familiar with the Spruced Up bundle it is from the 2022 Stampin Up! July-December Mini Catalog on page 13. I haven't used this set at all as of yet and hope to before Christmas gets here. I have seen so many neat samples for it and since I need a bunch of Christmas Gift Card Holders....I plan to use this set to make them.

Project Details:

Stamps: Framed & Festive
Ink: Real Red
Cardstock: Garden Green, Basic White
Accessories: Tailor Made Tags Dies, Spruced Up Outlines Dies, 1x8 Cello Bags, White Baker's Twine

I sat one afternoon and made a bunch of these M&M Sticks. 
These are a good seller for me as they do make a great stocking stuffer!
A friend of mine loves them to put at each person's table setting for Christmas dinner.
You can't go wrong with M&M's!

Today I have a few little notebooks I want to cover.
I found a handful of them in the bottom of a drawer that I want to get rid of.
I also want to make some Chapstick holders if time allows.
Tis the season!

**************************************
My thoughts today...


Thanks for stopping by & have a terrific day!
~Wendy


Wednesday, December 7, 2022

Beauty of the Season

 Good Morning & Happy Wednesday!

Yesterday was a very dreary, rainy day and today is looking like much of the same.
I don't have much to do today so I may try to let my hands rest.
I'm all ready for my Stamp Day w/ Friends get together on Saturday other than getting my table ready which I will do on Friday. My Christmas treats need to be priced yet which I may do today and get that out of the way. Once Saturday is over I can then concentrate on Christmas! 

I finished up Audrey's card order yesterday, too!
She requested 3 packs of Christmas cards including the set I am sharing today using a retired set called Beauty of the Season from 2014. She wanted a set with a cardinal.


Card Details:

Stamps: Beauty of the Season (retired), Framed & Festive
Ink: Memento Black, Cherry Cobbler, Stampin Blends - Cherry Cobbler, Crumb Cake, Daffodil Delight, Smoky Slate
Cardstock: Cherry Cobbler, Crumb Cake, Basic White
Accessories: Timeworn Type 3D EF, Stitched Rectangle Framelits, Scalloped Contour Dies, Tailor Made Tags Dies, Stamparatus, Linen Thread, Holiday Rhinestones (retired), Dimensionals, Tombow Multipurpose Liquid Glue

I used my Stamparatus to stamp my cardinal image because it is a big image and on my first try without the Stamparatus I missed the whole middle section. The Stamparatus is wonderful for that! I am finding myself using this tool more & more!
Coloring of this image isn't too bad but my hands don't like it.
Everything on this card is adhered flat except for my tag with the Merry Christmas on it.
I looked for some Cherry Cobbler Ribbon to put on my tag that was not bulky and had no luck. I used the Linen Thread which gives this a nice country feel and certainly does not bulk up my card. Lastly, I pulled out the Holiday Rhinestones (which were just on the Clearance Rack) and I used 2 Cherry Cobbler on my card for a bit of sparkle!

Again, I mixed old & new products which I always say is like breathing new life into those retired stamps! If you have them, use them!

*****************************************
My thoughts today...


Thanks for stopping by & have a great day!
~Wendy


Tuesday, December 6, 2022

Tate's Cookie Totes

Hello & Happy Tuesday!

Yesterday I worked on Audrey's card order most of the day and today I hope to get it finished up. Saturday is my Christmas Stamp Day w/ Friends get together so I have some last minute things to finish up for that. I am looking forward to seeing them!

Today I am sharing a cookie tote I decorated for Christmas.
I picked up 10 Tate's Cookie Bags at my local Giant grocery store (10 for $10) and made a tote for them.
I then decorated them for Christmas thinking these would be a nice little treat with a glass of milk or a mug of hot cocoa. I made one of these totes a few months ago for Audrey as a thank you that I put in with her card order. You can see it here...


I really love how they turned out!
The DSP really gives them a Christmas-y feel. 

Project Details:

Stamps: Nothing's Better Than, Handmade Wishes
Ink: Crumb Cake, Soft Suede, Real Red, Garden Green
Cardstock: Real Red, Garden Green, Basic White, Sweetest Christmas DSP
Accessories: Love You More Than Dies, Stylish Shapes Dies, Circle Layering Framelits, Iridescent Rhinestones, Iridescent Trim, Handheld Hole Punch (retired), Dimensionals, Tombow Multipurpose Liquid Glue

I made up 10 totes for my cookies which were fun to decorate!
And the cookies are really good, too!

*****************************************
My thoughts today...


Thanks for stopping by & have a wonderful day!
~Wendy


Monday, December 5, 2022

Star Bags

 Hello & Happy Monday!

Today I am sharing another sweet treat that I made for Christmas using the Star Bags from the 2022 July-December Mini Catalog!
If you weren't looking for them you would probably miss them being in the catty. They are on page 35 and have a few samples for it throughout the catty.
I decorated mine with the Cottage Wreath Bundle and filled them with Christmas Snickers Mini's!


These bags are very sturdy and will hold a good bit!
I love the smooth texture of them and you could easily stamp on them but i'd suggest you do that carefully as I smeared my ink on 2 of them. I gave up after that and just stamped my sentiment on a Stylish Shapes Dies and adhered it to my bags.  It did not help that I was rushing to get done but stamping on the bags is one option. 
I filled my bags with the Snickers candies and tied my bags shut by wrapping my Garden Green Ribbon around the top and tying my bow. The ribbon can easily slide off to get inside the bag. I used the Cottage Wreath stamp set and the Country Wreaths Dies to cut my wreaths out. Overall I was pleased with how they turned out!

Project Details:

Stamps: Cottage Wreath
Ink: Garden Green, Real Red
Cardstock: Real Red, Garden Green, Basic White
Accessories: Stylish Shapes Dies, Square Layering Framelits (retired), Circle Layering Framelits, Country Wreath Dies, Star Bags, Garden Green Ribbon, Red Rhinestones, Dimensionals, Tombow Multipurpose Liquid Glue

****************************************
My thoughts today...


It sure is!
I have been listening to it while crafting!
Do you have a favorite Christmas song?
I have too many too list!

Thanks for stopping by & make it a great start to your week!
~Wendy


Sunday, December 4, 2022

Christmas Lights Cards

 Good Sunday Morning!

I hope your having a wonderful weekend!
We had rain & gusty winds yesterday. It was a good day to stay in and craft the afternoon away! Today it's sunny but on the cold side. It's also football day!

One day this past week Audrey called to give me her monthly card order.
She asked for a set of Christmas cards with a decorated Christmas tree on.
I thought to myself for a minute and then pulled out my Christmas Lights bundle and got to work. I had this bundle for awhile and thought this was the perfect opportunity to use it!


I diecut the trees from the Lights Aglow DSP and also cut out an extra tree using Evening Evergreen cardstock to sturdy up the DSP diecut tree. I glued them together then I placed it on top of the Gold trimmed scalloped piece of DSP. I am a sucker for anything with pops of Gold Foil in it! It seemed like at that moment the tree came to life! 
I layered all of it onto a Soft Succulent cardbase. I diecut my sentiment panel from Basic White cardstock using the Lights Aglow Dies. Such a pretty diecut, too! I stamped my saying on with Evening Evergreen ink using the Brightest Glow stamp set. 
Lastly, I added 2 Soft Succulent Festive Pearls to each card and an Evening Evergreen bow to finish them up. 
I almost wish these were made for me because I loved them so much.
I just hope Audrey will be pleased with them!

Card Details:

Stamps: Brightest Glow
Ink: Evening Evergreen
Cardstock: Soft Succulent, Basic White, Lights Aglow DSP
Accessories: Twinkling Lights Dies, Lights Aglow Dies, Festive Pearls, Evening Evergreen Ribbon, Glue Dots, Dimensionals, Tombow Multipurpose Liquid Glue

Such a beautiful suite of products and sadly the Lights Aglow DSP is already sold out!
I was fortunate enough to order mine at the beginning of preorder back in July but only now have I opened the pack to use it. It's so pretty!

*******************************************
My thoughts today...


I love this time of year!

Thanks for stopping by & have a wonderful day!
~Wendy


Saturday, December 3, 2022

Christmas Treat Box

 Hello & Happy Saturday!

I hope your all doing well.
It's been crazy busy here but I am seeing light at the end of the tunnel, finally!
Kelsey & Shady are all settled in and she is back to work.
Everything is all decorated now for Christmas and I made my way back to my stamp table this afternoon after my haircut.
It's also Ryan's 36th birthday today!
We are going to have ice cream cake this evening since it's his favorite!

I wanted to share a sweet treat that I whipped up for Christmas using the Stampin Up! Acetate Card Boxes that I think have retired because I could not find them in the Stampin Up! Annual Catalog. They hold the 4 1/4 X 5 1/2 inch cards.
I cut the boxes in half and added 5 of the Kit Kat Candy Bars then decorated...


Project Details:

Stamps: Christmas To Remember
Ink: Shaded Spruce
Cardstock: Basic White, Santa's Express DSP
Accessories: Seasonal Labels Dies, White Glittered Ribbon, Wonderful Snowflakes, Holiday Rhinestones (Shaded Spruce), Dimensionals

These turned out super cute and super easy to make!
I used 6 Acetate Card Boxes (cut in half) and 2 bags of Christmas Kit Kats.

************************************************
My thoughts today...


Thanks for stopping by!
~Wendy